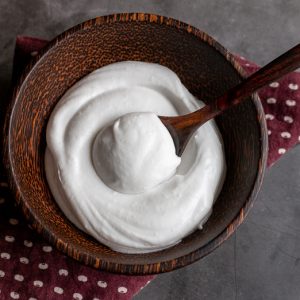
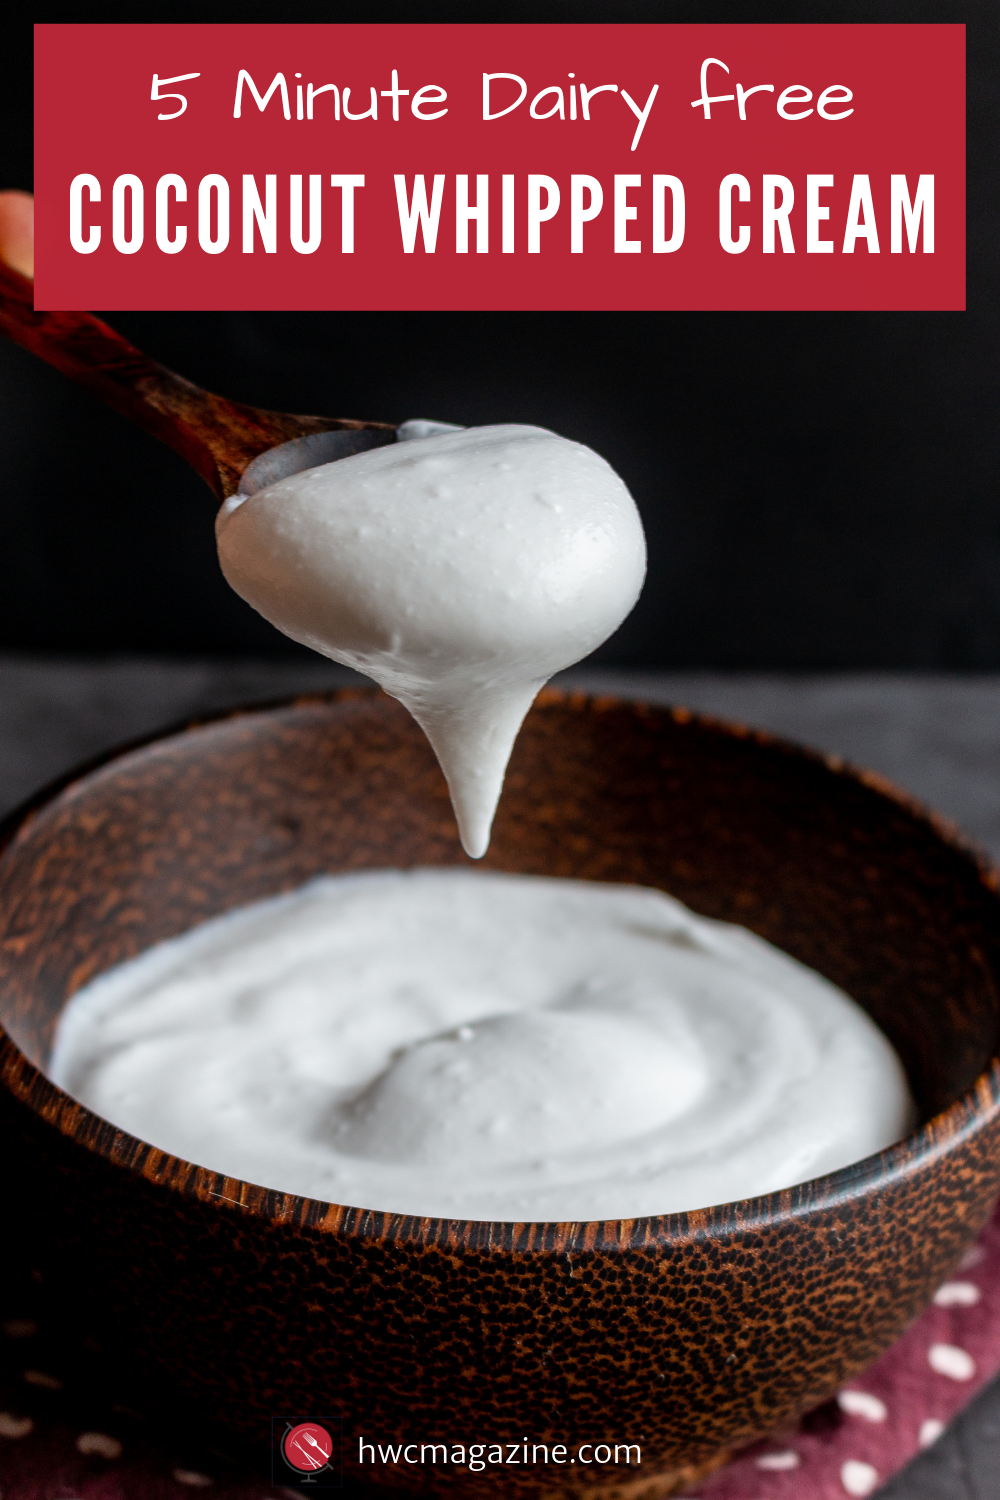
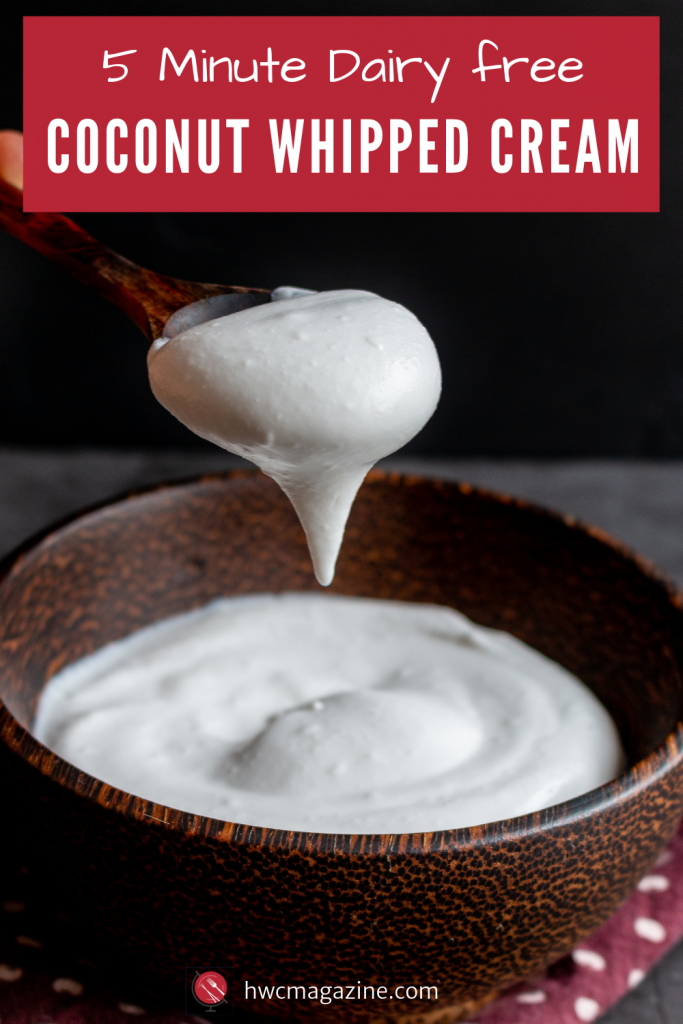
Homemade Coconut Whipped Cream is a dairy-free light billowy cloud of delicately sweetened coconut cream with an essence of vanilla. Learn how to make this dairy free topping with our quick and easy step by step tutorial.
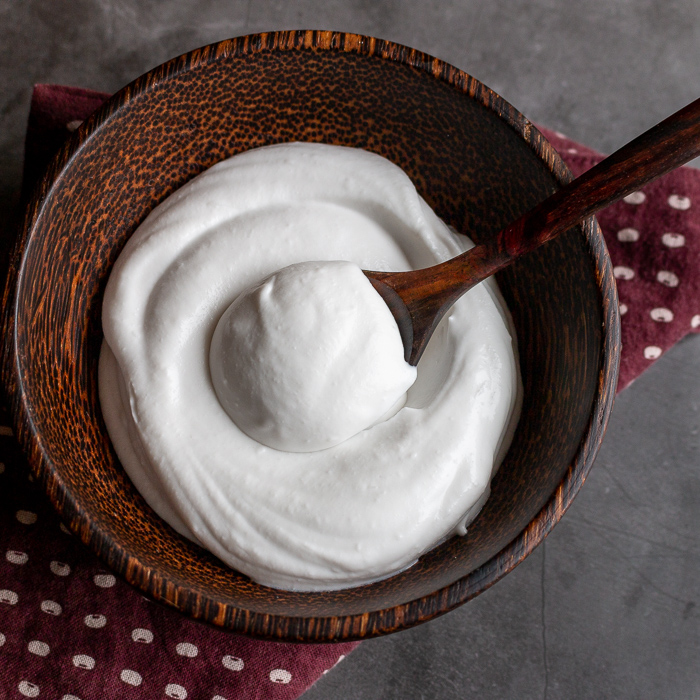
This dreamy Homemade Coconut Whipped Cream is fabulous dolloped on fruit, in smoothies, on pies, Icebox Lavender Lemon Angel Food Cake, over a banana split, Cherry Plum Fruit Crumble , Easy Microwave Chocolate Pudding or anytime you want a creamy delicious treat.
You are going to love this homemade coconut whipped cream as it has the same texture as full fat dairy whipped topping without all the dairy sensitive tummy issues.
Only 3 Ingredients : 5 Minutes to Make
- Full Fat Canned Coconut Cream
- Organic powdered sugar or sugar alternative of choice
- Vanilla
If we are using our Homemade Coconut Whipped Cream over grilled pineapple, mangoes or Asian spiced roasted pears, we do not even bother adding vanilla. We let the coconut flavor to shine through. On the other hand, if we are going to use on a Western dessert, we add vanilla to mellow out the flavor of the coconut.
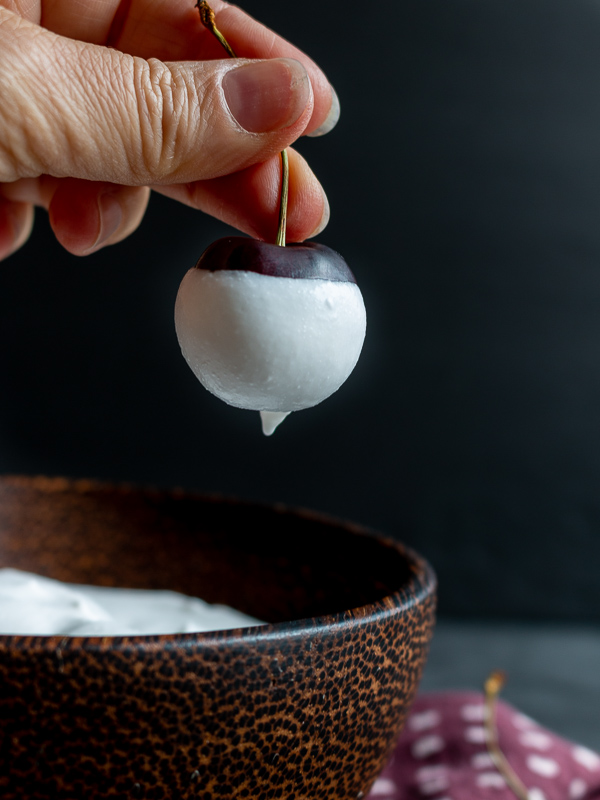
Dairy-Free and Loving it
Do you get a tummy ache with milk products? We sure do and it is no fun at all. The great news is Homemade Coconut Whipped Cream is dairy-free and coincidentally vegan, gluten-free and low carb if you use a sugar alternative.
We don’t know if it is the milk proteins itself, the hormones in milk, but milk-based products really make us feel sick. On the other hand, our homemade coconut whipped cream is light, fluffy and we have no tummy issues at all and that is a win-win! Have you tried our Velvety Vegan Chocolate Mousse? It is made with a batch of Homemade Coconut Whipped Cream too.
In addition, a dollop of coconut whipping cream thickens smoothies and shakes without a frozen banana. Be sure to try a few dollops of delicious homemade coconut whipped cream in our Chocolate Peanut Butter Banana Smoothie or in our Berry Cherry Smoothie Blast. If you are following a diabetic diet or lower carb diet, this is an easy exchange without compromising on flavor and creaminess.
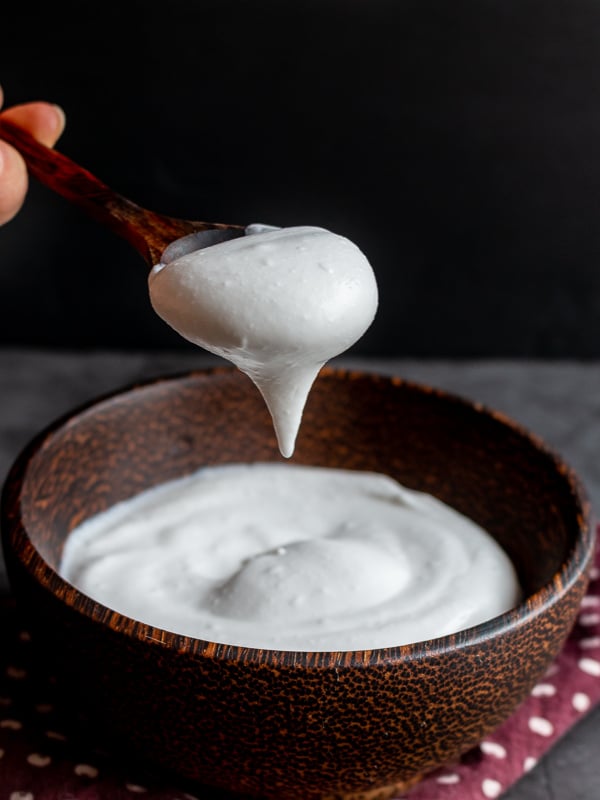
Step By Step Tutorial
Have you ever tried whipping your own homemade whipped coconut cream before? It is not difficult and active time processing time is less than 5 minutes. You either need a blender or food processor and you are good to go.
Step 1:
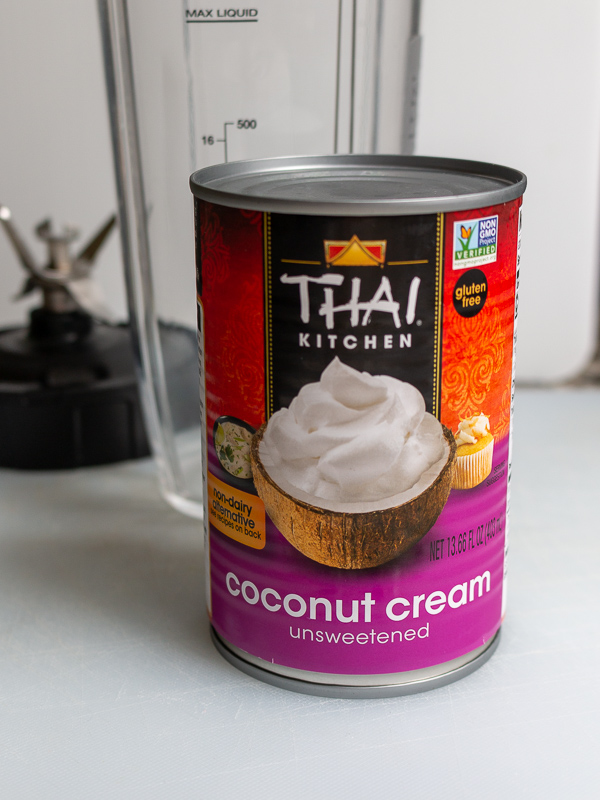
Pick a good FULL FAT COCONUT CREAM brand. Note the word CREAM. Do NOT use Low fat coconut cream, coconut milk, drinkable coconut milk or coconut water and/or any off brand coconut creams. These options will not work! Other low-fat coconut creams and coconut milk have fillers and have much less fat and this might make your topping grainy and not give you enough cream to whip. Do not choose coconut cream brands that list guar gum in the recipe ingredients or any fillers. The only ingredient should be 100% coconut cream.
Step 2:
A full-on epic fail is Kroger Brand coconut cream. Sorry Kroger, but your coconut cream does not even work good in a curry. We have good luck making a smooth and decadent homemade coconut whipped cream with Arroy -D coconut cream. It has ALWAYS worked well for us CONSISTENTLY.
Today we are using Thai Kitchen full fat unsweetened coconut cream and it is working fabulous. Have you tried making your own homemade coconut whipped Cream? What brand of coconut cream works best for you?
Step 3:
Refrigerate your full fat coconut cream overnight in the refrigerator for at LEAST 8 hours. 12 hours is even better. We have forgotten about our little lonely can of full fat coconut cream in the refrigerator for a few days and it worked even better. However, the one thing that does not work, is freezing it. You can’t rush the process by freezing a can of coconut cream. We have tried this before and the texture was very odd.
Step 4:
Do not shake, rattle, roll, tip or shift your coconut cream that is chilling in the refrigerator. If you do, you will start to mix up the coconut cream from the coconut milk. We know some recipes encourage you to flip over the can. Don’t do it! Just skim the cream off the top and leave the coconut water at the bottom and save for another recipe.
The goal is while the coconut cream is in the refrigerator is for all the coconut cream solids to float to the top of the can. All the coconut milk (water) will go to the bottom of the can. The 2 are completely separate. After you open the can, it will be easy for you to scoop the coconut cream solids from the top of the can to make your whipped topping.
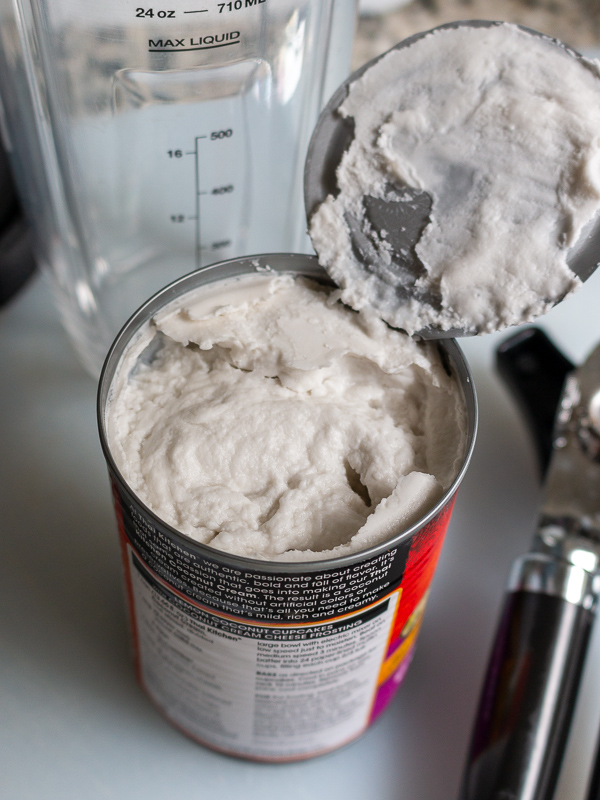
Step 5:
Place your beaters and your bowls in the freezer for about 10-15 minutes before whipping your coconut cream. If you prefer, you can also use a food processor. Your coconut cream needs a really cold environment to thicken. We used our chilled ninja food processor container and blades. In 1 minute flat, we had perfect homemade coconut whipped topping. Also, you need to be in a cool environment for this to work. Put the air conditioning on. Don't try to do this in a hot, steamy and humid kitchen as you will have inconsistent results.
Step 6:
Gently scoop the coconut cream only from the top of the coconut cream can. Reserve the remaining coconut water for smoothies, curries, sauces or other recipes. Depending on the brand of coconut cream, from a 13.5 oz – 14 oz container you will get about 1 cup to 1.5 cups of coconut whipped cream. Add 1 tablespoon of sweetener of choice like organic powdered sugar, maple syrup or sugar alternative of choice for diabetics or low carb. We also like to add 1 teaspoon of vanilla to help balance the flavors.
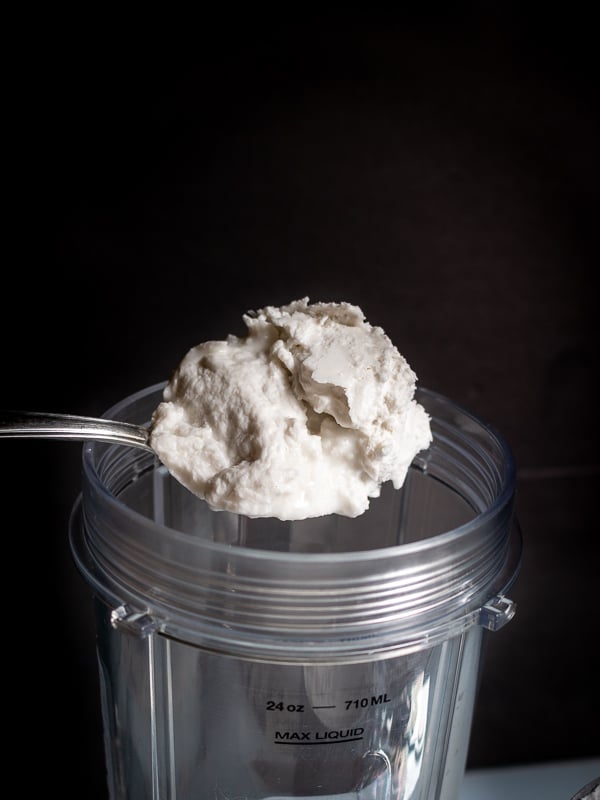
Step 6:
Blend until smooth.
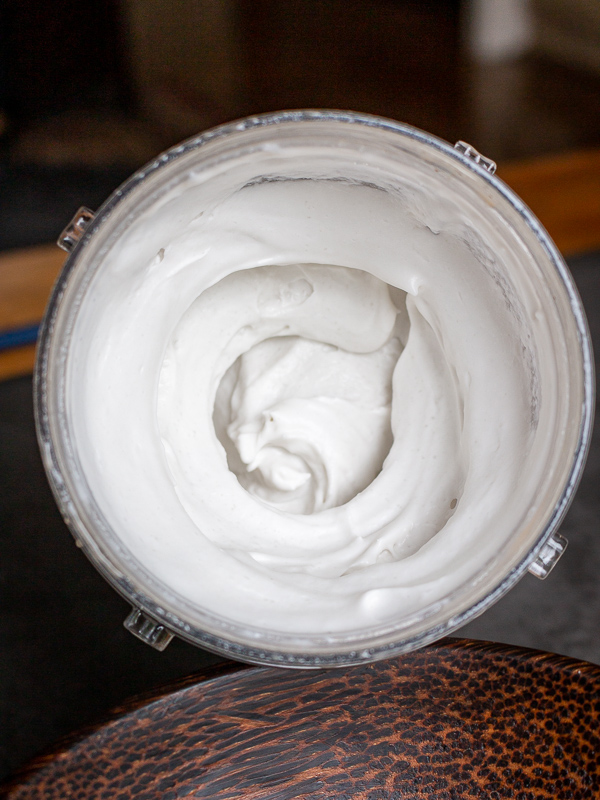
Step 7:
Enjoy immediately or store in a sealed container in the refrigerator up to one week. If storing, you may need to whip for one minute again to refresh.
Can you Make Whipped Coconut Cream from Coconut Milk?
Technically, you can, but a lot less of it. Coconut cream in a can has a lot more milk solids or fat in it compared to coconut milk. For example, we were able to get about 1.5 cups of coconut whipped cream from a can of coconut cream. We were only able to get about ½ to ¾ cup of whipped coconut cream from a can of coconut milk.
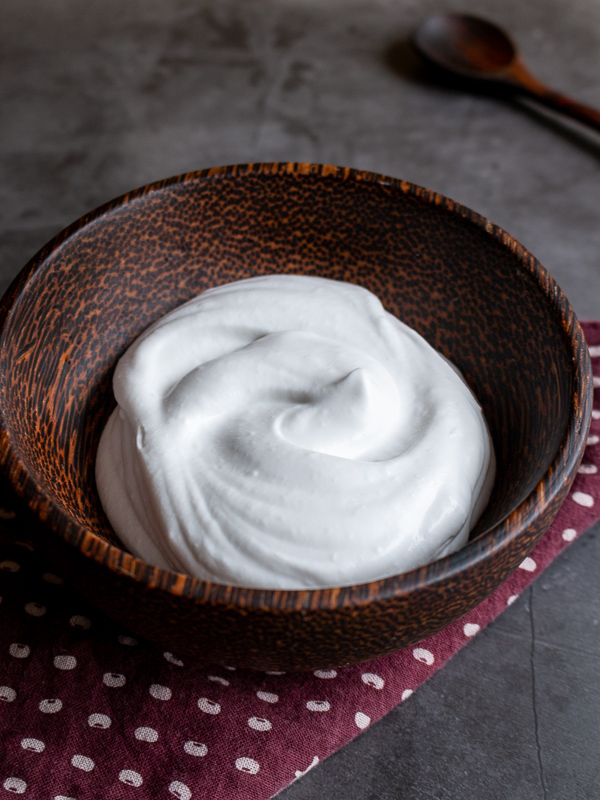
Non-Dairy Cool Whip vs Homemade Whipped Coconut Cream
Guess what? There is dairy and milk products in Non-Dairy Cool Whip and a list of other things such as Water, tapioca syrup, vegetable oil (palm kernel oil, coconut oil),cane sugar, tapioca maltodextrin, contains less than 2% of each of the following: light cream, soy lecithin, sodium caseinate (from milk), xanthan gum, guar gum, natural flavors, and beta carotene (for color).
On the other hand, real good coconut cream in a can has one and only 1 ingredient and that is coconut cream. It is easy to pronounce and no odd and weird ingredients. Coconut Cream is completely dairy free, gluten free and simple.
More Delicious DAIRY FREE Cooling Dessert Ideas
No Churn Dairy Free Mango Swirl Ice Cream
Honey Cardamom Cantaloupe Sorbet
Rainbow Fruit and Yogurt Layered Ice Cream (Dairy-Free)
Did You Like Our Recipe? Leave a ⭐⭐⭐⭐⭐ rating and/or a review in the comments section below. Your feedback is always appreciated! Follow us for more delicious recipes on Pinterest, Instagram, Twitter and Facebook! Don't forget to sign up for our email list for more free recipes.
Homemade Coconut Whipped Cream
Ingredients
- 13.5 oz coconut cream
Full Fat - 1 tablespoon sweetener of choice
(organic powdered sugar, stevia, honey, etc) or to taste - 1 teaspoon vanilla (optional)
Instructions
- Place your coconut cream in the refrigerator for at least 8 to 12 hours. You can leave it in longer if you wish. Do not freeze. Do not shake, turn over or disturb your can of coconut cream.
- 10 to 15 minutes before you are ready to whip your coconut cream put in your beaters and bowls in the freezer to get cold. You can also use a food processor if you like to whip your coconut cream. If using a food processor, freeze your food processor canister and blades in the freezer.
- Gently remove the cold can of coconut cream from the refrigerator and place on the kitchen counter. Do NOT shake, jostle or flip over the can! Gently remove the lid off the coconut cream with a can opener.
- All of the coconut cream solids should now be on the top and all the coconut water on the bottom of the can. Remove your beaters and bowl or food processor canister and blades out of the freezer and assemble. Gently scoop out only the coconut cream solids and place in your mixing bowl or in your food processor canister. Depending on the type of coconut cream brand you are using you will have between 1 cup to 1.5 cups of coconut cream solids. Place the remaining coconut water in a sealed container in the refrigerator as you can use this later in smoothies, curries etc. Attach the beaters to the mixer (or use food processor) and whip the coconut cream until soft and fluffy with peaks, for about 2 minutes.
- Add 1 tablespoon of sweetener of choice. See cook’s notes below for exchanges. Add 1 teaspoon of vanilla extract. (optional) Continue to whip the coconut cream for another minute until the powdered sugar (or sweetener of choice) and vanilla are well incorporated. We dare you to resist the urge to lick the beaters. Ok just lick the beaters! We won’t tell a soul.
- Enjoy your delicious Homemade Coconut Whipped Topping on all your favorite desserts. Left over homemade coconut whipped topping keeps well in a sealed container in the refrigerator for about one week. Do not freeze your leftovers as the consistency is not good.
Notes
Nutrition




Jane Saunders says
I've been wanting to make coconut whipped cream for ages but haven't managed to successfully until now - I don't think the coconut cream I've used in the past has been up to the job. Great post, full of great advice on what to look out for, so thanks very much.
HWC Magazine says
Thanks so much Jane. We love using a dollop on all of our favorite treats. Great alternative for those that have dairy sensitivities. Wishing you a lovely day ahead.